Try Zipy today and start watching real-time session replays linked directly to your Firebase Crashlytics reports.
Try for free
.svg)

.webp)
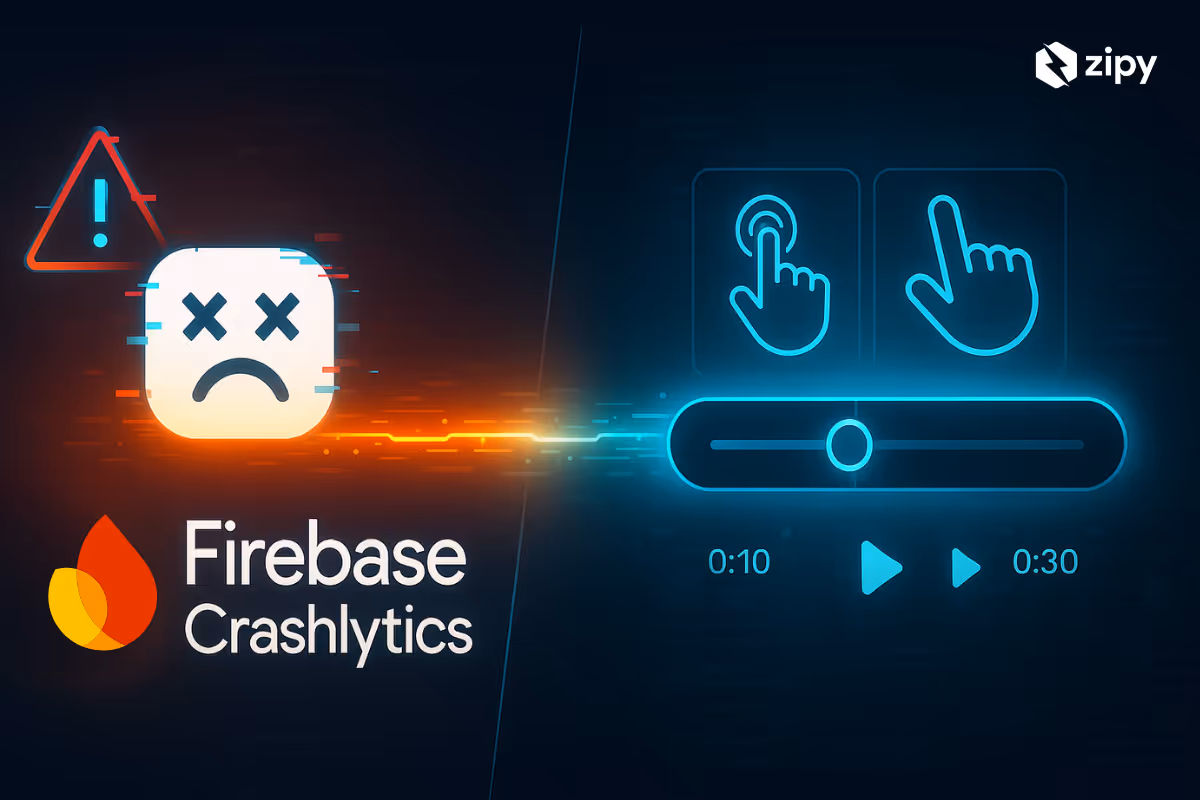
Now imagine you could actually watch what happened right before your app broke. That’s what happens when you plug Firebase into Zipy.
With the integration:
It’s like having security camera footage for your bugs.
Let’s walk through how to hook up Zipy with Firebase Crashlytics.
Zipy supports Firebase Crashlytics integration with React Native, Flutter, as well as Swift, and though the steps to integrate are similar, they aren't identical. Let's divide this into two sections:
1. For React Native
2. For Flutter
we will soon add steps for Swift too.
If your app is built with React Native, connecting Zipy with Firebase Crashlytics is a quick way to make your crash reports much more powerful.
Crashlytics still does its job - capturing all the technical crash details. But when you add a Zipy session link, you can rewind and watch exactly what the user did before the crash.
It’s like seeing the bug happen in real time.
The first thing you need to do is to create an account in Zipy if you haven't already. For that, you need to sign up and go through the onboarding flow.
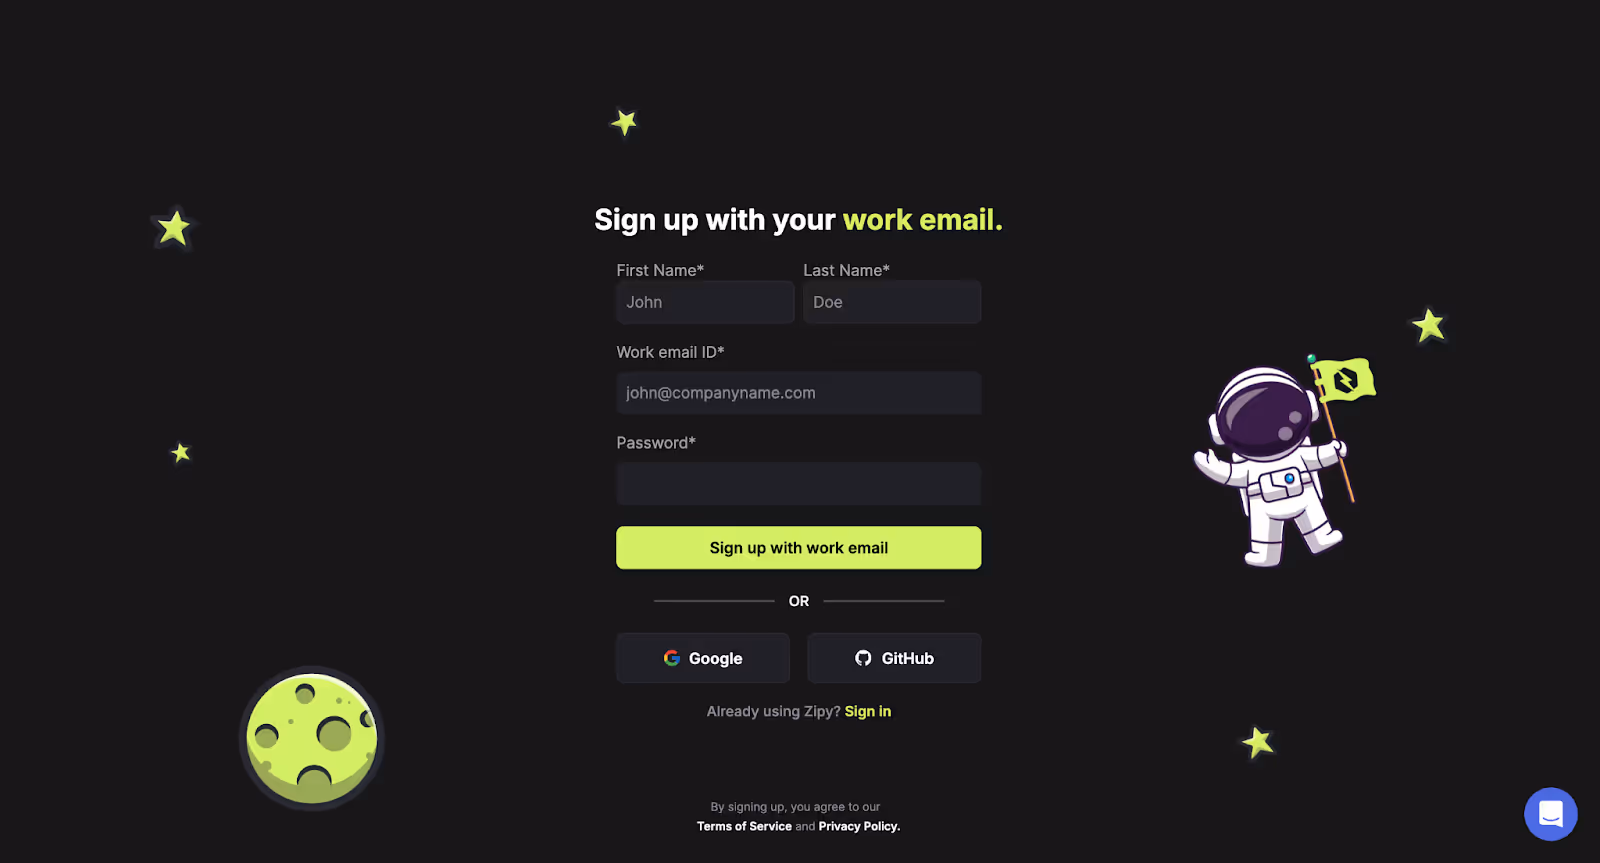
After filling in all the entries, you will be navigated to the Device selection screen, where you need to select the “Mobile” option.
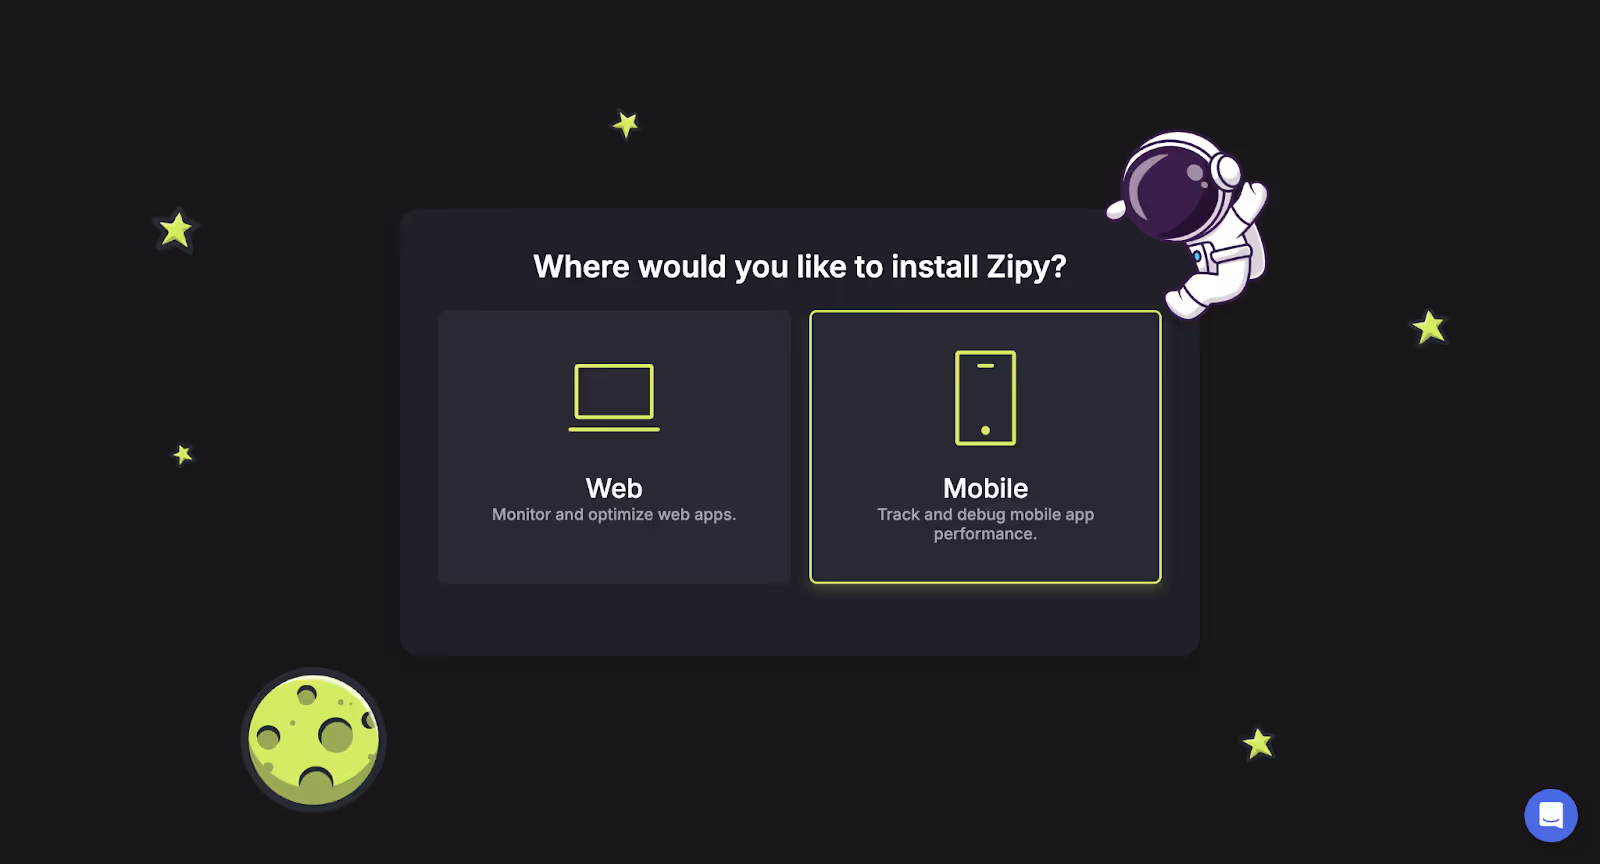
After that, there are a couple of steps where you will be required to select your Role in your project or organization as well as what you want to achieve using Zipy. Then you will be successfully signed up for Zipy.
After you have successfully signed up for Zipy, the obvious next step is to install the SDK for Zipy React native in your application.
For that, go to the terminal of the source code of your application and hit the following command.
npm install zipyai-react-native Once you have completed the above step, you also need to install the following package:
npm install react-native-fsAfter that, the next and final step is to import the Zipy module and initialize it in your source file as below, which you have used as the entry point for your application, e.g., index.js
import zipy from 'zipyai-react-native';
zipy.init('YOUR_API_KEY');
Here, you will get “YOUR_API_KEY” in the project settings section in your Zipy account.
After that, the next step will be to implement “Gesture Capturing” so that when you see the session replay, you come to know the exact gestures, e.g., single taps, double taps, etc, that lead to the screen freeze or crash.
Gesture Capture is a Zipy feature that lets you record user gestures inside your React Native app. To turn it on, simply wrap your app with the withGestureCapture wrapper.
For that, first import the “withGestureCapture” in your index file.
import { withGestureCapture } from "zipyai-react-native";After that, wrap withGestureCapture to your main app.
AppRegistry.registerComponent(appName,()=> withGestureCapture(App));Once you have done this, it's also good to implement “Screen transition capture”.
To implement this you need to import “ScreenNavigation” from 'zipy-react-native' and add “onStateChange” to your NavigationContainer.
Firstly, import the module,
import { ScreenNavigation } from 'zipyai-react-native';After that, add onStateChange to your navigation container:
return ( <NavigationContainer onStateChange={ScreenNavigation}> )Or
return ( <NavigationContainer onStateChange={(state)=> {ScreenNavigation(state)}}> )By the end of this step, you have completed setting up Zipy to debug the ANR or crash captured by Crashlytics. Next, let's head to integrating Zipy with Firebase Crashlytics.
First, you need to grab the current Zipy session URL so it can travel alongside your crash reports.
Zipy provides a handy “getCurrentSessionUrl()” function for this. It dynamically fetches the session link for the exact user session in progress.
Here’s how it should look in your code:
const sessionUrl = zipy.getCurrentSessionUrl();
console.log('Current session URL:', sessionUrl);
This link will later be sent to Firebase Crashlytics, so you can jump straight from a crash report to the full Zipy replay and see exactly what happened before things went wrong.
Attach this URL to Firebase as a custom key so it’s included with every crash or ANR report.
crashlytics().setAttribute('ZipySessionURL', a);That’s it! From now on, each crash or freeze in Crashlytics will include the ZipySessionURL you passed. You can also see this same URL printed in your console (from the earlier console.log()), and opening it in your browser will take you straight to the Zipy session replay for that crash.
If you’re building your app with Flutter, you can still link Zipy session replays to your Firebase Crashlytics reports - the steps are almost the same as React Native, with a few syntax differences. By passing the Zipy session URL into Crashlytics as a custom key, you’ll be able to trace any crash or ANR back to the exact user session and watch what happened before things went wrong.
Just like we did before in the “Integrating Zipy with Firebase Crashlytics In a React Native App” section, here also we need to follow exactly the same steps to create an account on Zipy.
After you have successfully signed up for Zipy, the obvious next step is to install the Zipy Flutter SDK in your application.
For that, firstly, you need to install the Zipy plugin as follows,
flutter pub add zipy_flutterThis will add a line like this to your package's pubspec.yaml and run flutter pub get
dependencies: zipy_flutter: ^0.1.1 (the version might be different depending on the latest version)After that, you need to import the Zipy module and initialize it in your “main.dart” or another source file used as the entry point:
import 'package:zipy_flutter/zipy_flutter.dart'; // import
void main() {
WidgetsFlutterBinding.ensureInitialized(); // Initialize the binding.
Zipy.init(key: 'YOUR_API_KEY');
runApp(MyApp());
}
Here, you will get “YOUR_API_KEY” in the project settings section in your Zipy account.
After that, the next step will be to implement “Gesture Capturing” so that when you see the session replay, you come to know the exact gestures, e.g., single taps, double taps, etc, that lead to the screen freeze or crash.
To implement Gesture Capturing, you simply need to wrap your application with the ZipyWrapper wrapper as below:
import 'package:zipy_flutter/zipy_flutter.dart';
Future<void> main() async {
    WidgetsFlutterBinding.ensureInitialized();
    Zipy.init(key: 'YOUR_API_KEY');
    runApp(const ZipyWrapper(child: MyApp()));
 }
Or
import 'package:zipy_flutter/zipy_flutter.dart';

  @override
  Widget build(BuildContext context) {
    return ZipyWrapper(
      child: MaterialApp(
        navigatorObservers: [ZipyNavigationObserver()],
        home: const HomeScreen(),
        routes: {
          '/profile': (context) => const ProfileScreen(),
        },
      ),
    );
  }
Next, let's move on to implementing “Screen transition capture”.
To implement this, import the Observer into your material app:
MaterialApp(
        navigatorObservers: [ZipyNavigationObserver()], //need to add this for capturing screen transitions
        home: const HomeScreen(),
        routes: {
          '/profile': (context) => const ProfileScreen(),
        },
),Just like in the React Native example, you’ll start by fetching the session URL that Zipy generates using the getCurrentSessionUrl() function. Print it to the console so you can verify it’s working.
Here’s how it should look in your code:
final sessionUrl = await Zipy.getCurrentSessionURL();
print('Current session URL: $sessionUrl');
This is the same code snippet we used earlier in the React Native section to retrieve the session URL.
The syntax here is a bit different from React Native, but the goal is still the same: attach the session URL you retrieved to Firebase as a custom key. This ensures the link is included with every crash or ANR report.
FirebaseCrashlytics.instance.setCustomKey('ZipySessionURL',sessionUrl );That’s it! From now on, each crash or freeze in Crashlytics will include the ZipySessionURL you passed.

See how thousands of Engineering, Product and Marketing Teams are accelerating their growth with Zipy.

.webp)
If you have any more questions feel free to reach out to us at support@zipy.ai.
.svg)
No - Zipy is optimized to run with minimal performance overhead. It captures and uploads session data efficiently, ensuring smooth user experiences without noticeable slowdowns.
Yes - Zipy’s session replay works independently
Not strictly necessary for basic integration, but highly recommended. These features give you richer context in replays, showing exactly how users navigated and interacted before a crash.
Zipy provides you with full customer visibility without multiple back and forths between Customers, Customer Support and your Engineering teams.
The unified digital experience platform to drive growth with Product Analytics, Error Tracking, and Session Replay in one.


.webp)